Reisong A10 Upgrade
Here at HFC, we receive many calls and e-mails where people seek advice about which components to use on their upgrade. We are always happy to help with this aspect.
One such call was from Mr RG, who had purchased a Chinese-made Reisong A10 single-ended integrated amplifier and wanted to venture into the wonderful world of DIY Audio. My initial request is always, "Do you have a circuit?" and "What is your budget?" Armed with both, I got to work, and the parts were dispatched by the end of the day.
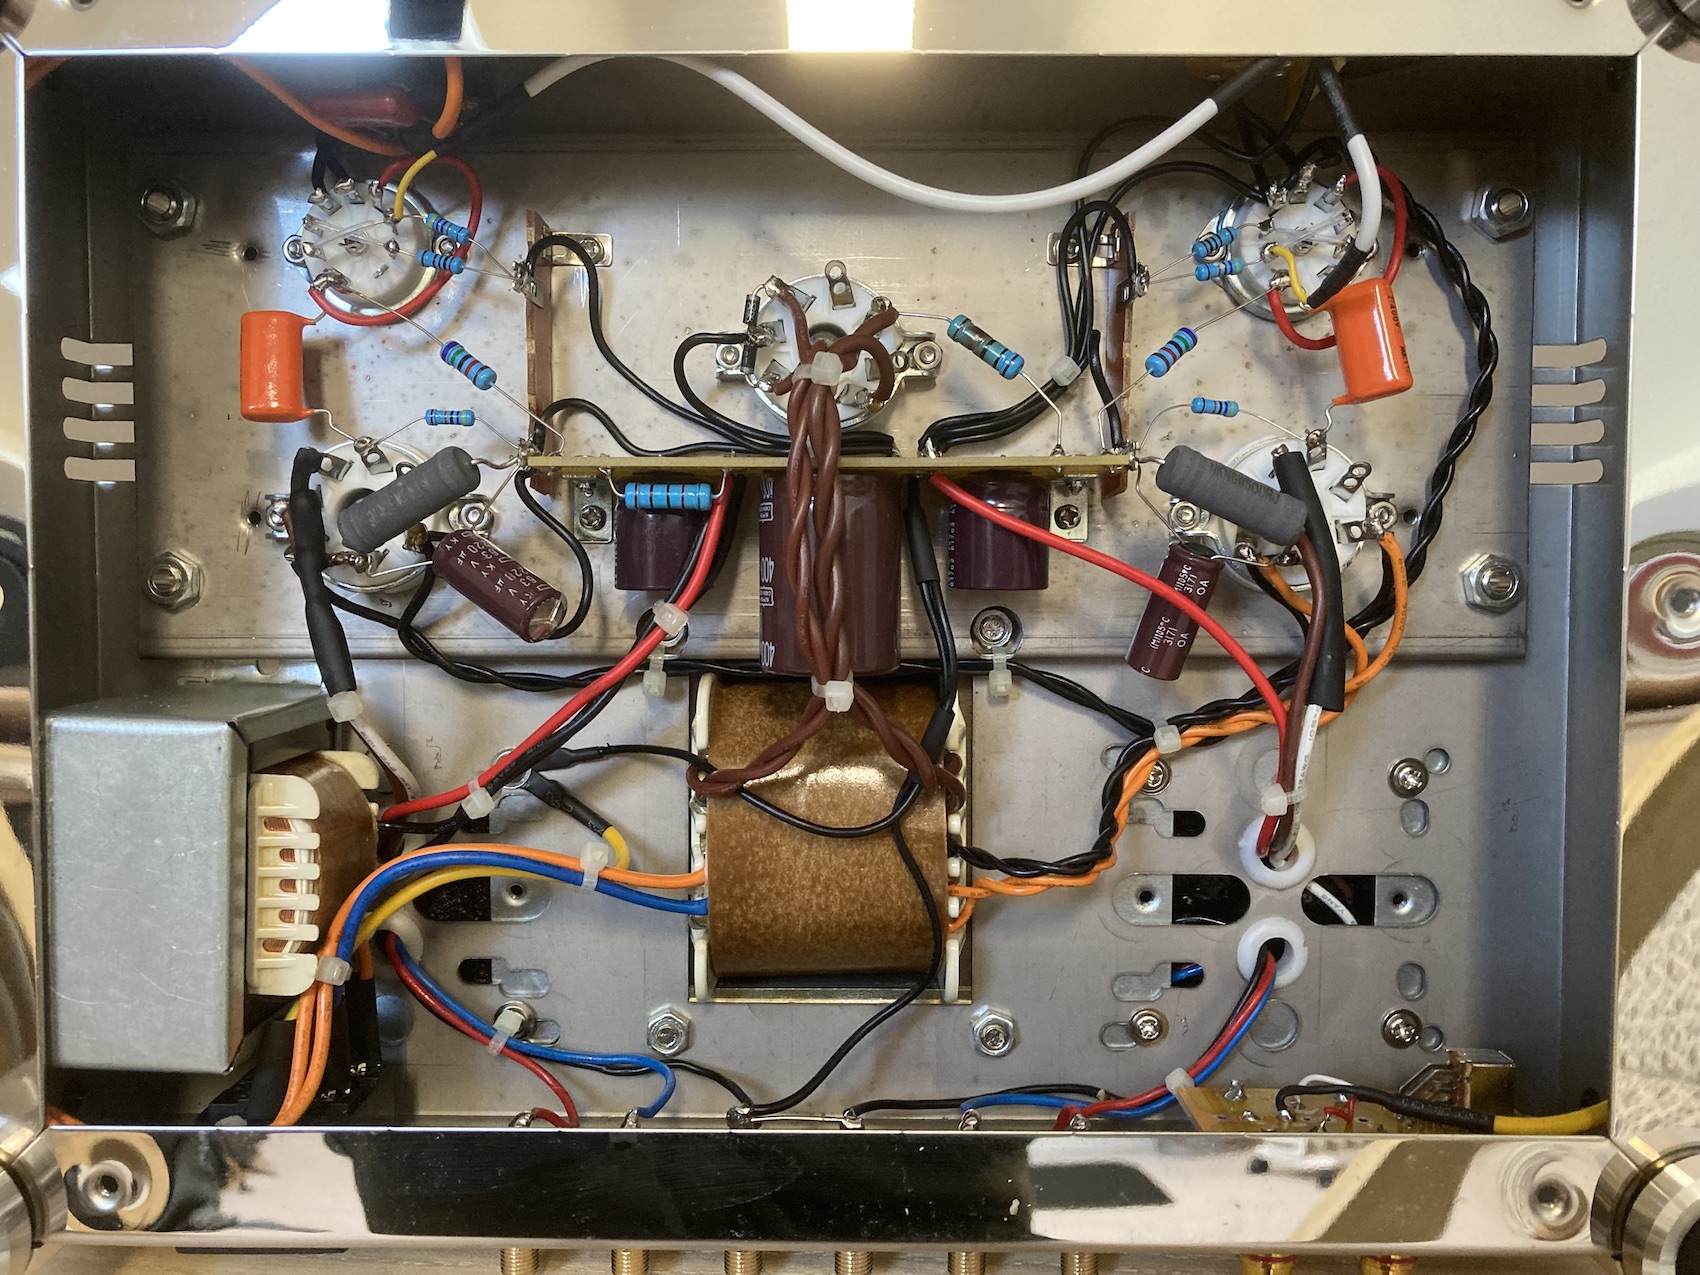
Here is a picture of the internal of the original build
Within a couple of days, I had a call from Mr RG stating that the upgrade was finished, but the amplifier wasn't working, no sound. The EL34s and rectifier valve heaters were on, but that was about it. This was where I discovered that the amplifier hadn't actually been working before the upgrade was done. A word of advice which I must mention. Before endeavouring on an upgrade, always ensure the amplifier is working correctly. For several reasons - you may be putting your expensive audio-grade components at risk if the equipment is faulty. Also, you want to have a good idea of how the amplifier sounds so you can marvel at what the upgrade has done.
I thought the best remedy was to get the amplifier in. As you can see from the internal pictures, the amplifier is mainly hard-wired and looks like a simple circuit, so I felt pretty happy to get my hands dirty.
Reisong A10 Integrated Circuit
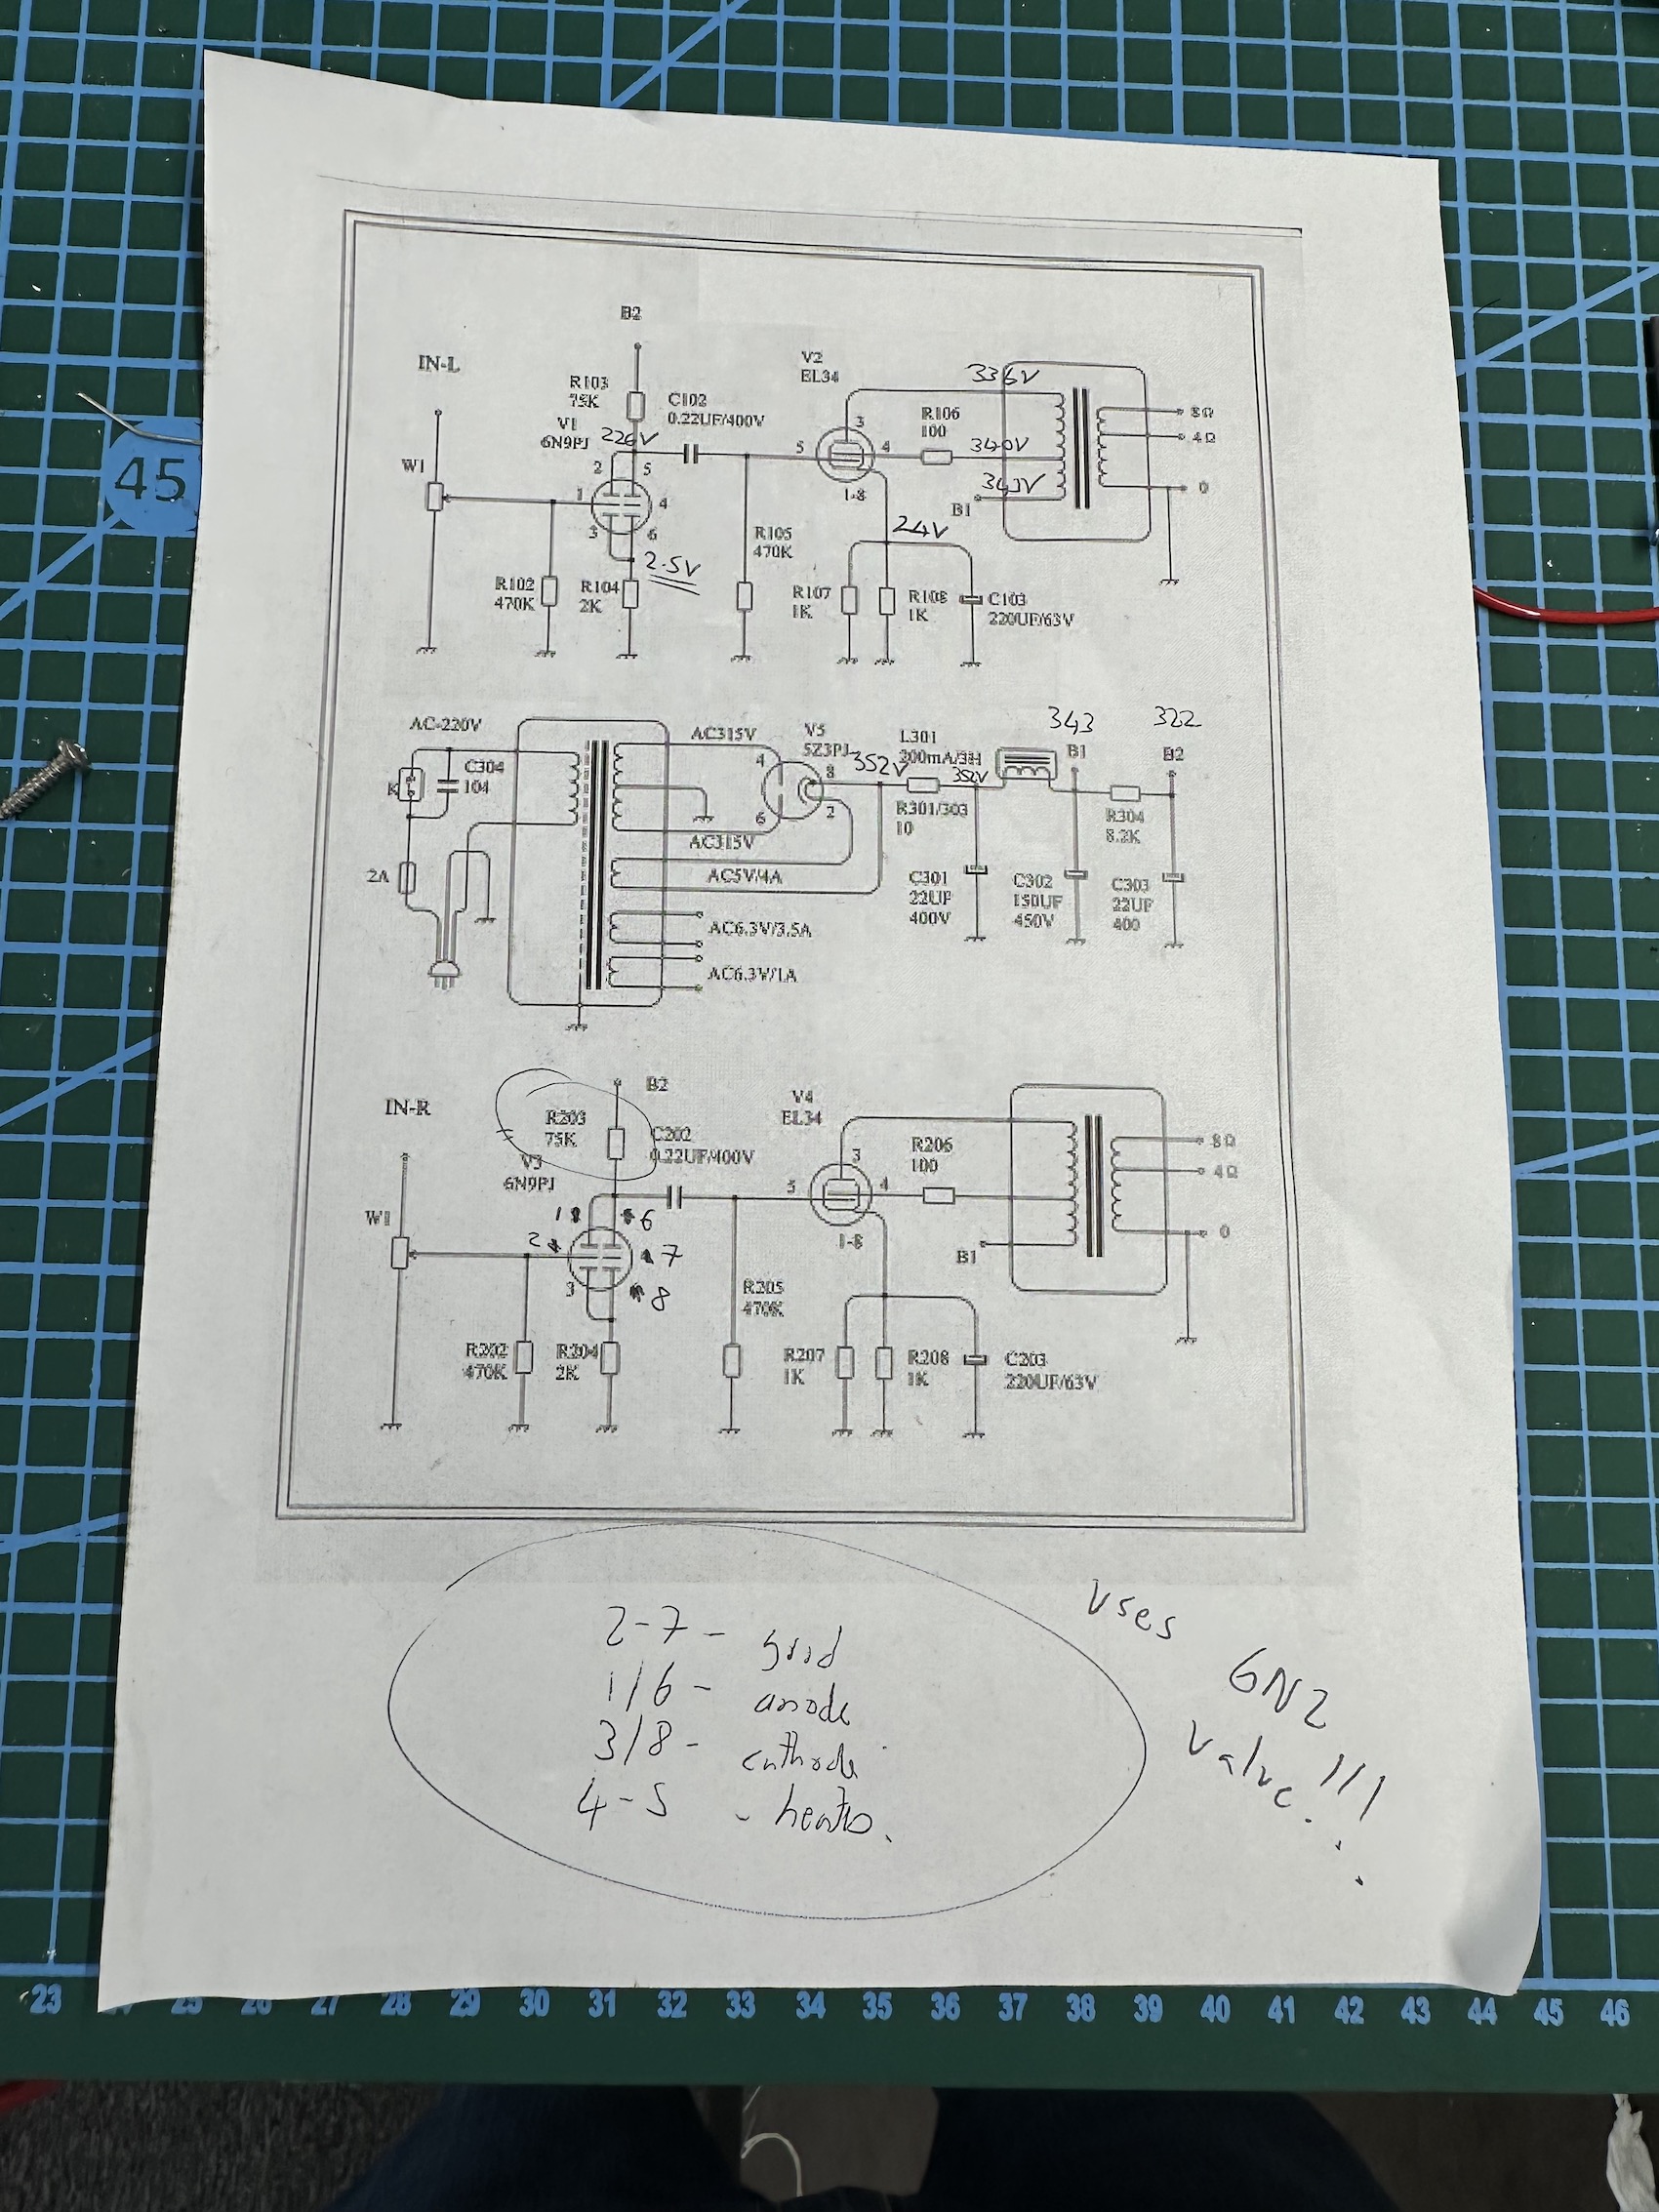
A few days later, I had the amplifier on the bench. While I was putting the valves back in, I noticed that the input valves supplied were actually 2N2s whereas the valves on the circuit were 2N9s. Ahhh I thought this was where the problem lies. So although the valves have a similar characteristic, they actually have a different pin layout, so it was quickly remedied. I also noticed that the 10R resistor R301 was missing altogether. This feeds off pin 8 of the rectifier, so none of the valves were getting any HT. A good thing, considering the input valve was wired incorrectly anyway.
No disrespect to Mr RG, but the soldering was a little overindulgent and a bit dry. When working on equipment and you have to desolder, always make sure that you remove as much of the original solder as you can with a solder sucker or desoldering braid. This way, you won't be getting a mix of 2 soldering types when you solder the new part in - this generally leads to a dirty joint.
So within an hour the amplifier was up and running and sounding sweet from the initial switch on.
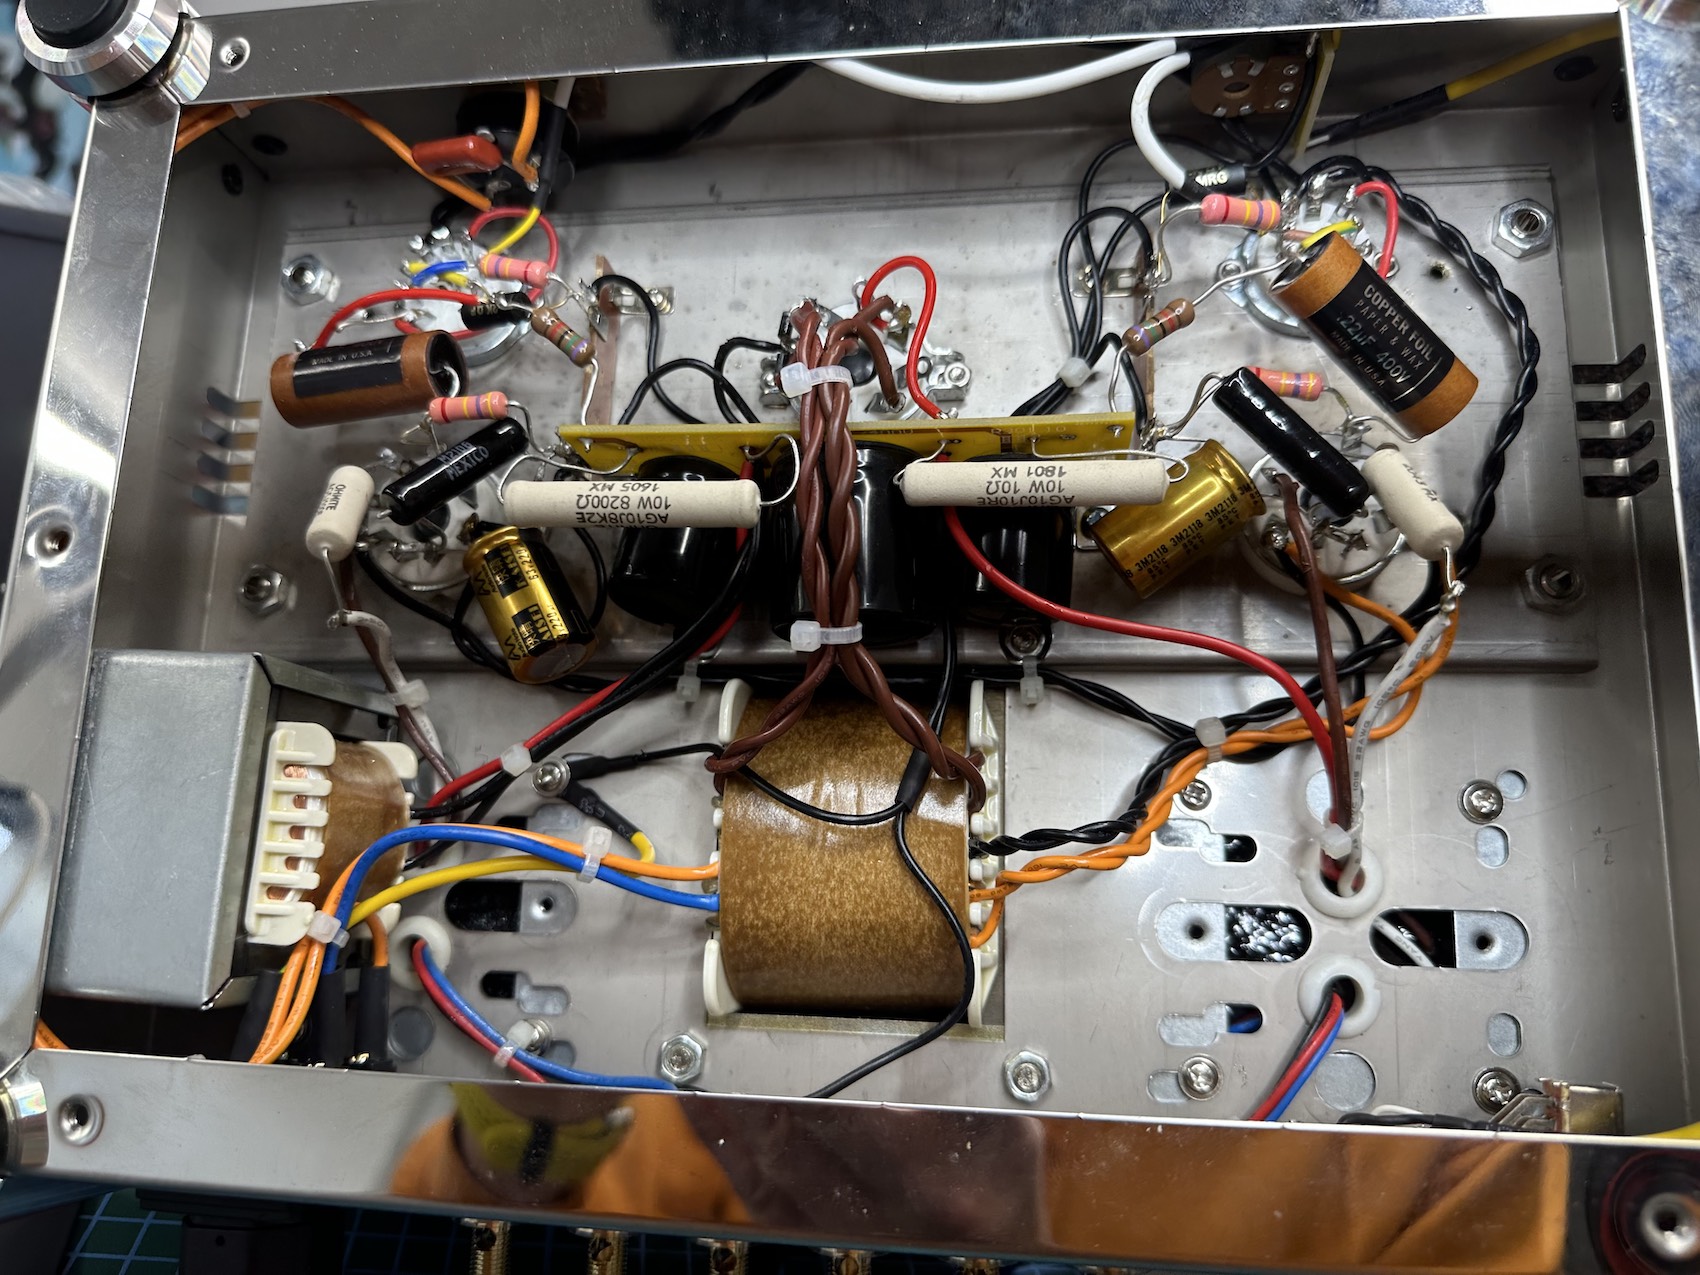
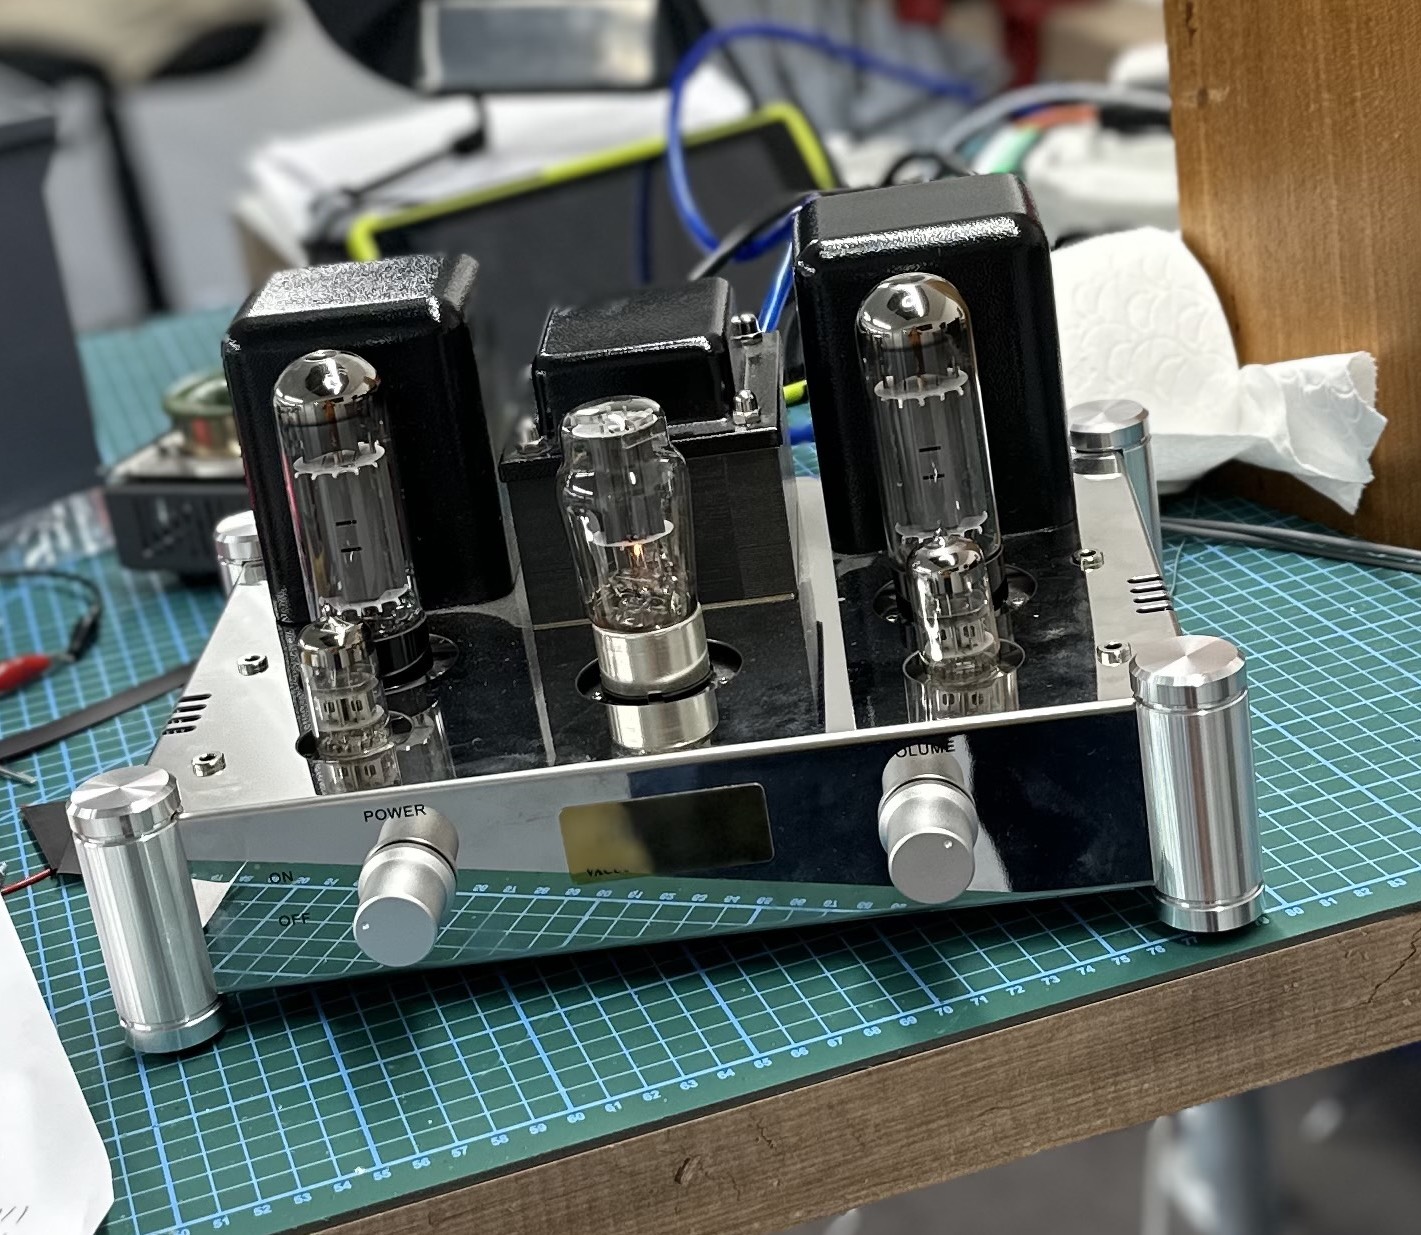
Internal view of the upgraded amplifier
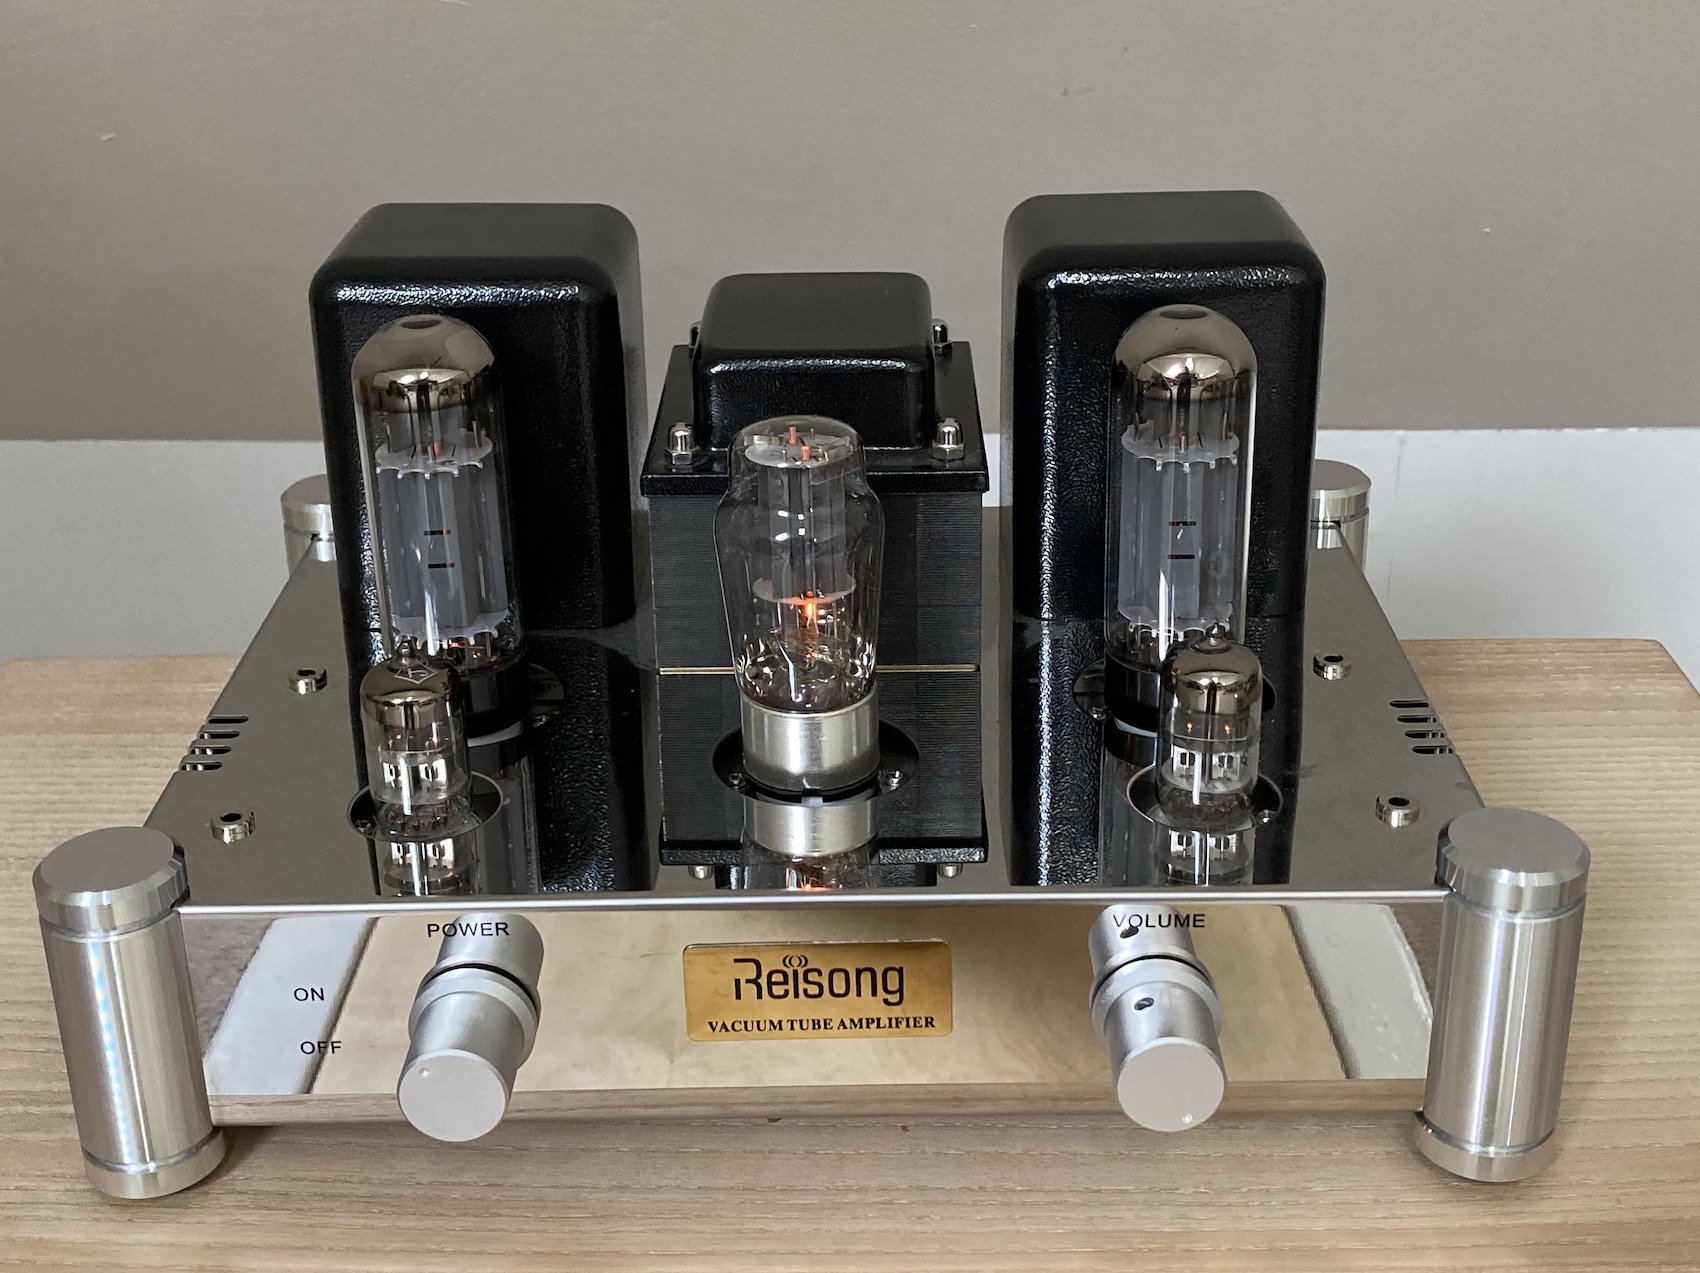
Finished item playing sweetly on the bench
Parts list of the upgrade
RES-35-1W-75K: 75K 1W Audio Note Tantalum Resistor x 2
(AMRG0.75-365) 2K 0.75W Amtrans AMRG Resistor x 2
(REX75-650) - 470K 1W TAKMAN Carbon Film Resistor x 5
PH9004-4224J: 0.22uF 400Vdc Jupiter Copper Foil, Paper & Wax Capacitor x 2
(RES-M1327) - 510R 12W MRA12 Mills Resistor x 2
AG10-580 - 8K2 10W Ohmite Audio Gold AG10 Resistor x 1
MLGO450-22: 22uF 450Vdc Mundorf MLytic HV Radial Electrolytic Capacitor x 2
MLGO450-150: 150uF 450Vdc Mundorf MLytic HV Radial Electrolytic Capacitor x 1
AG5-350 - 100R 5W Ohmite Audio Gold AG5 Resistor x 1
CAP-100-R-220U-63V: 220uF 63Vdc Audio Note Kaisei POLAR Electrolytic Capacitor x 2
AG10-230 - 10R 10W Ohmite Audio Gold AG10 Resistor x 1
TOTAL @ £250.00 + vat
I was very pleased with how the upgrade went and I really enjoyed getting involved. Mr RG was pleased too. Here are a few words from him:
"I probably don't need to say anything about the Reisong, as you're familiar with that now.
However, my choice of this unit was driven by a combination of:
great reviews from a number of YouTube audiophiles whose opinions I value
it's just for my attic office, which is a small space so I don't need big power
the fact that I could get it wired point to point, which would enable me to learn and upgrade in the future (which you've just helped me do!) was a big plus
the price! £250 ish. I think it would be hard to get a better sound for this money
oh, and yes. Doesn't it look so sweet?
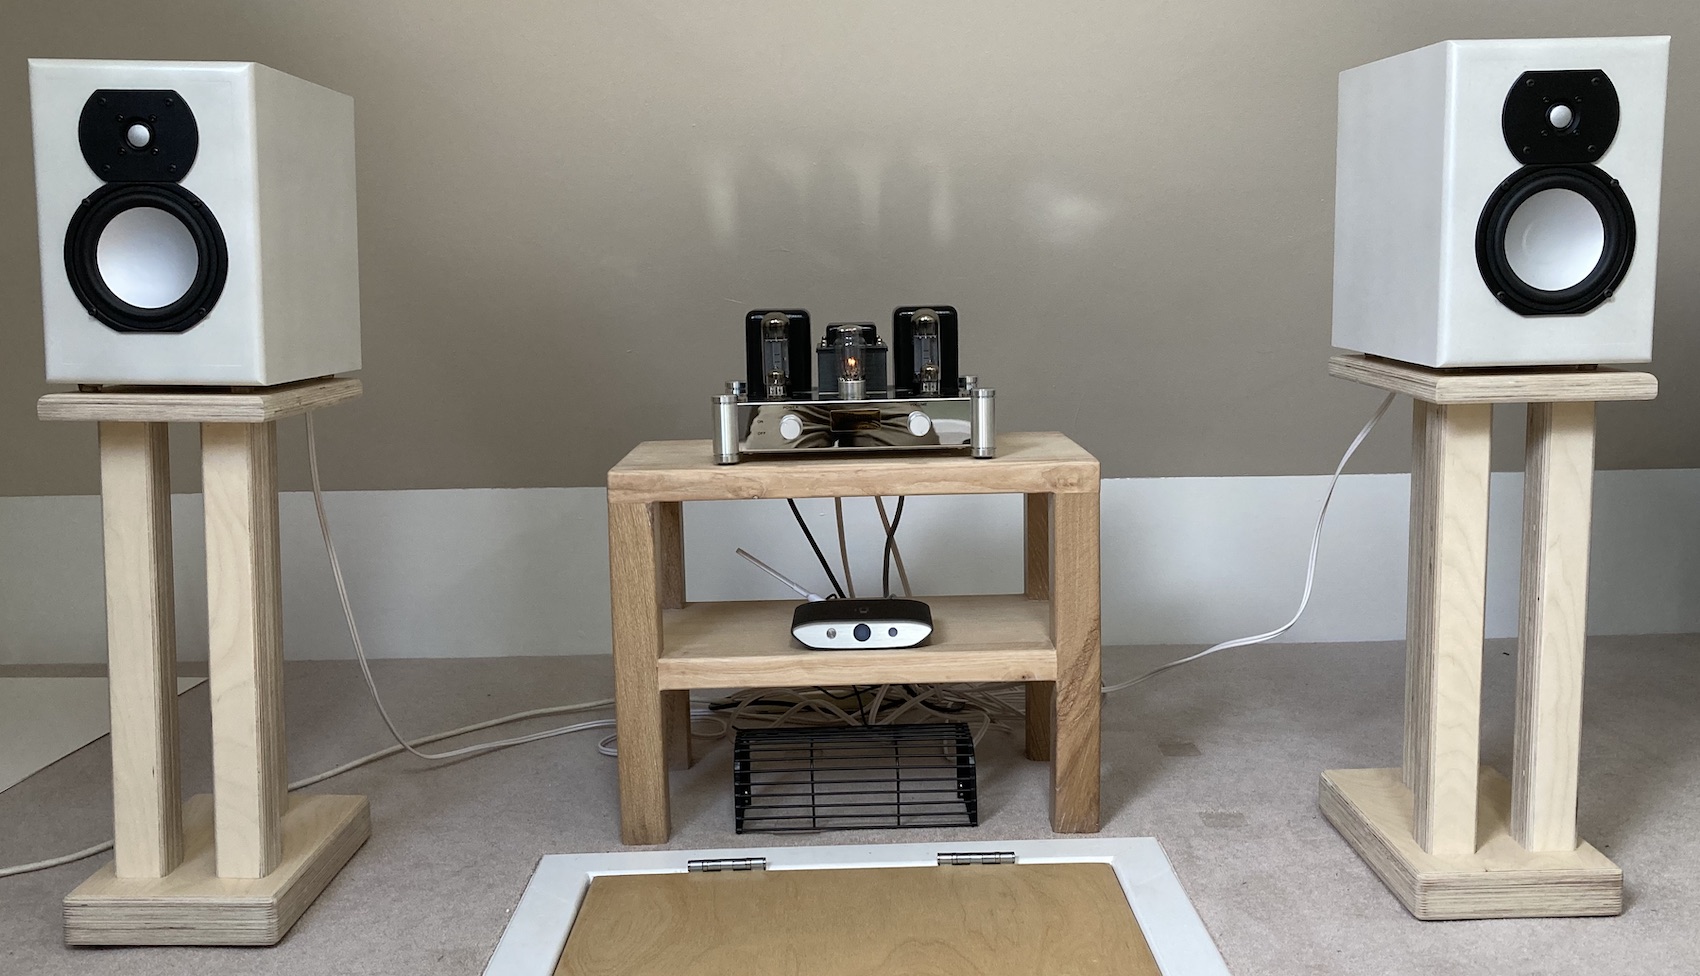
The speakers were self-built in my little workshop. I bought the components from GR-Research and made my own cabinets. MDF and many cans of car spray paint/lacquer to get a nice pearlescent finish, which I think matches the drivers nicely. https://gr-research.com/product/desktop-mini/
Again, I like making stuff and was keen to build my own speakers. They sound unbelievable for the money. However, at 85Db sensitivity, they are perhaps not the best match for the Reisong, which is only 6W PC @ 4ohm. That said, Brian Eno's "Reflection" is sounding amazing behind me now and Hot Chip earlier...OMG they sounded so sweet and tight!
My source is my phone/iPad, which provides signal via an iFi Audio ZEN Blue V2 Wireless Bluetooth DAC. Simple but effective.
The amp stand is made from locally sourced ash and oak, left over from some picture framing projects and the speaker stands are from some leftover birch ply from my attic office fit-out.
The next steps will be some room treatment and possibly adding an active sub to the system to flesh out the lower end.
The journey in sound engagement in my office continues!"
A picture of Mr RG's set up (equipped with trap door!)
So in conclusion. HFC are here to help with all your upgrade needs.