

Hi-Fi Basics: Choosing grille cloth and fastenings for a DIY loudspeaker
Published: 2708/2026 // Author: Jonny
A good loudspeaker grille has a simple job: protect vulnerable drive units, look as though it belongs on the cabinet and come off cleanly when access is needed. For most DIY builds, that means using fabric made for speaker grilles, keeping the frame clear of every moving part, and choosing fastenings before the cabinet front is finished.
A cloth grille is a useful barrier against dust, curious fingers and everyday knocks. It is not armour. A soft cover will not make a tweeter dome or cone immune to a determined push, so think honestly about the protection your room requires. A quiet listening room and a busy family space may call for different frames and fixings.
Choose cloth made for the job
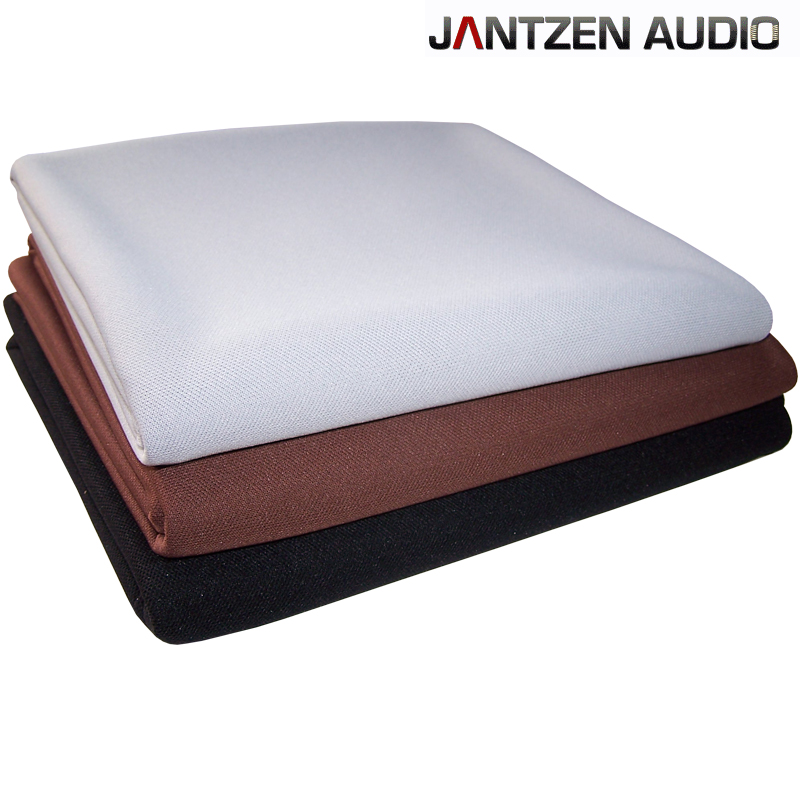
Decorative fabric can look tempting, particularly when a colour suits the room, but appearance is only part of the decision. Upholstery cloth may have a dense weave, backing or surface treatment that was never intended to sit in front of a loudspeaker. A better starting point is material sold specifically as speaker grille cloth.
Our grille cloth and fastenings range includes speaker grille cloth as well as pegs, catchers and complete removable covers. That gives you a known application, rather than asking you to guess whether a furnishing fabric is appropriate.
Check the material dimensions before designing the frame. Allow enough to wrap around the edges and reach the fixing area, with some spare for handling. If the weave has a visible direction, decide which way it will run on both speakers before cutting. An offcut is useful for checking colour, appearance and your chosen adhesive or fixing method.
Looking through fabric towards a light can reveal obvious variations in the weave, but it is not an acoustic test. Nor is blowing through it. Those checks may spot a blocked or backed material, but product information and the loudspeaker designer's guidance are better evidence.
Leave room for the drive units
The frame and cloth must remain clear of cones, surrounds and domes. This includes the full forward movement of a bass or midrange cone, not just its resting position. Visaton's installation guide makes the practical points clearly: leave a generous opening, keep the grille stable and avoid contact at maximum cone movement.
Clearance is easiest to solve on paper. Mark the outer edges of every drive unit, then draw the frame opening and the positions of its supports and fastenings. Look for anything that could sit over a surround, port or fixing screw. The frame should stay flat and rigid enough not to bow towards the baffle.
Dry-fit the bare frame before adding cloth. Press it gently at the fastening points and around the perimeter to see whether it rocks or flexes. Correct any problem before the fabric hides the cause.
Pegs, magnets or a model-specific cover?
Jantzen peg-and-catcher sets give a positive location and suit a separate grille frame, but the mating parts must be compatible and their holes must line up. Different types are not automatically interchangeable. Buy them as a known pair or check the product data before drilling, then make a test piece if the fit is unfamiliar.
Magnets can produce a clean cabinet front and make removal straightforward. They still need planning. Magnet positions must match, the parts must be held securely, and polarity must be checked before anything is glued in place. A neat recess is no help if its partner sits a few millimetres away on the frame.
Complete magnetic or snap-on grilles can be model-specific. Manufacturer data for SB Acoustics Satori magnetic grilles, for example, lists compatibility by drive-unit size and family. Treat that as a fit requirement, not a suggestion. A cover that looks about right in a photograph may have the wrong diameter, depth or fixing arrangement.
Whichever system you choose, make the cover removable without levering against the veneer, paint or drive units. A discreet finger gap or safe gripping point can prevent damaged edges later.
Fit the cloth without turning it into a contest
There is no prize for pulling grille cloth as tightly as possible. The aim is a smooth, even face without wrinkles, distorted weave or a frame pulled out of square. Fabric types differ, so follow the supplier's handling and adhesive guidance rather than relying on one universal stretching rule.
Work on a clean surface and protect the visible face. Confirm the weave direction, secure the material progressively and keep checking the front. Corners deserve patience: extra layers should not obstruct the fastenings or make the frame sit proud. Let any adhesive cure fully before fitting the grille.
Finally, remove and refit each grille several times. Check that all fastenings engage, the frame sits consistently and no cloth or frame member approaches a moving part. If the pair looks balanced and can be handled safely, the practical job is done.
The short version
Choose genuine speaker grille fabric, plan the frame around full driver clearance, and select one compatible fastening system before drilling or finishing. Pegs offer positive mechanical location; magnets offer a clean removable arrangement; complete covers must match the intended model. A careful dry fit is worth far more than trying to rescue an attractive grille that does not quite clear the loudspeaker.