aeco AX4-1623S locking female 4 pole XLR plug, Tellurium Copper Silver-plated
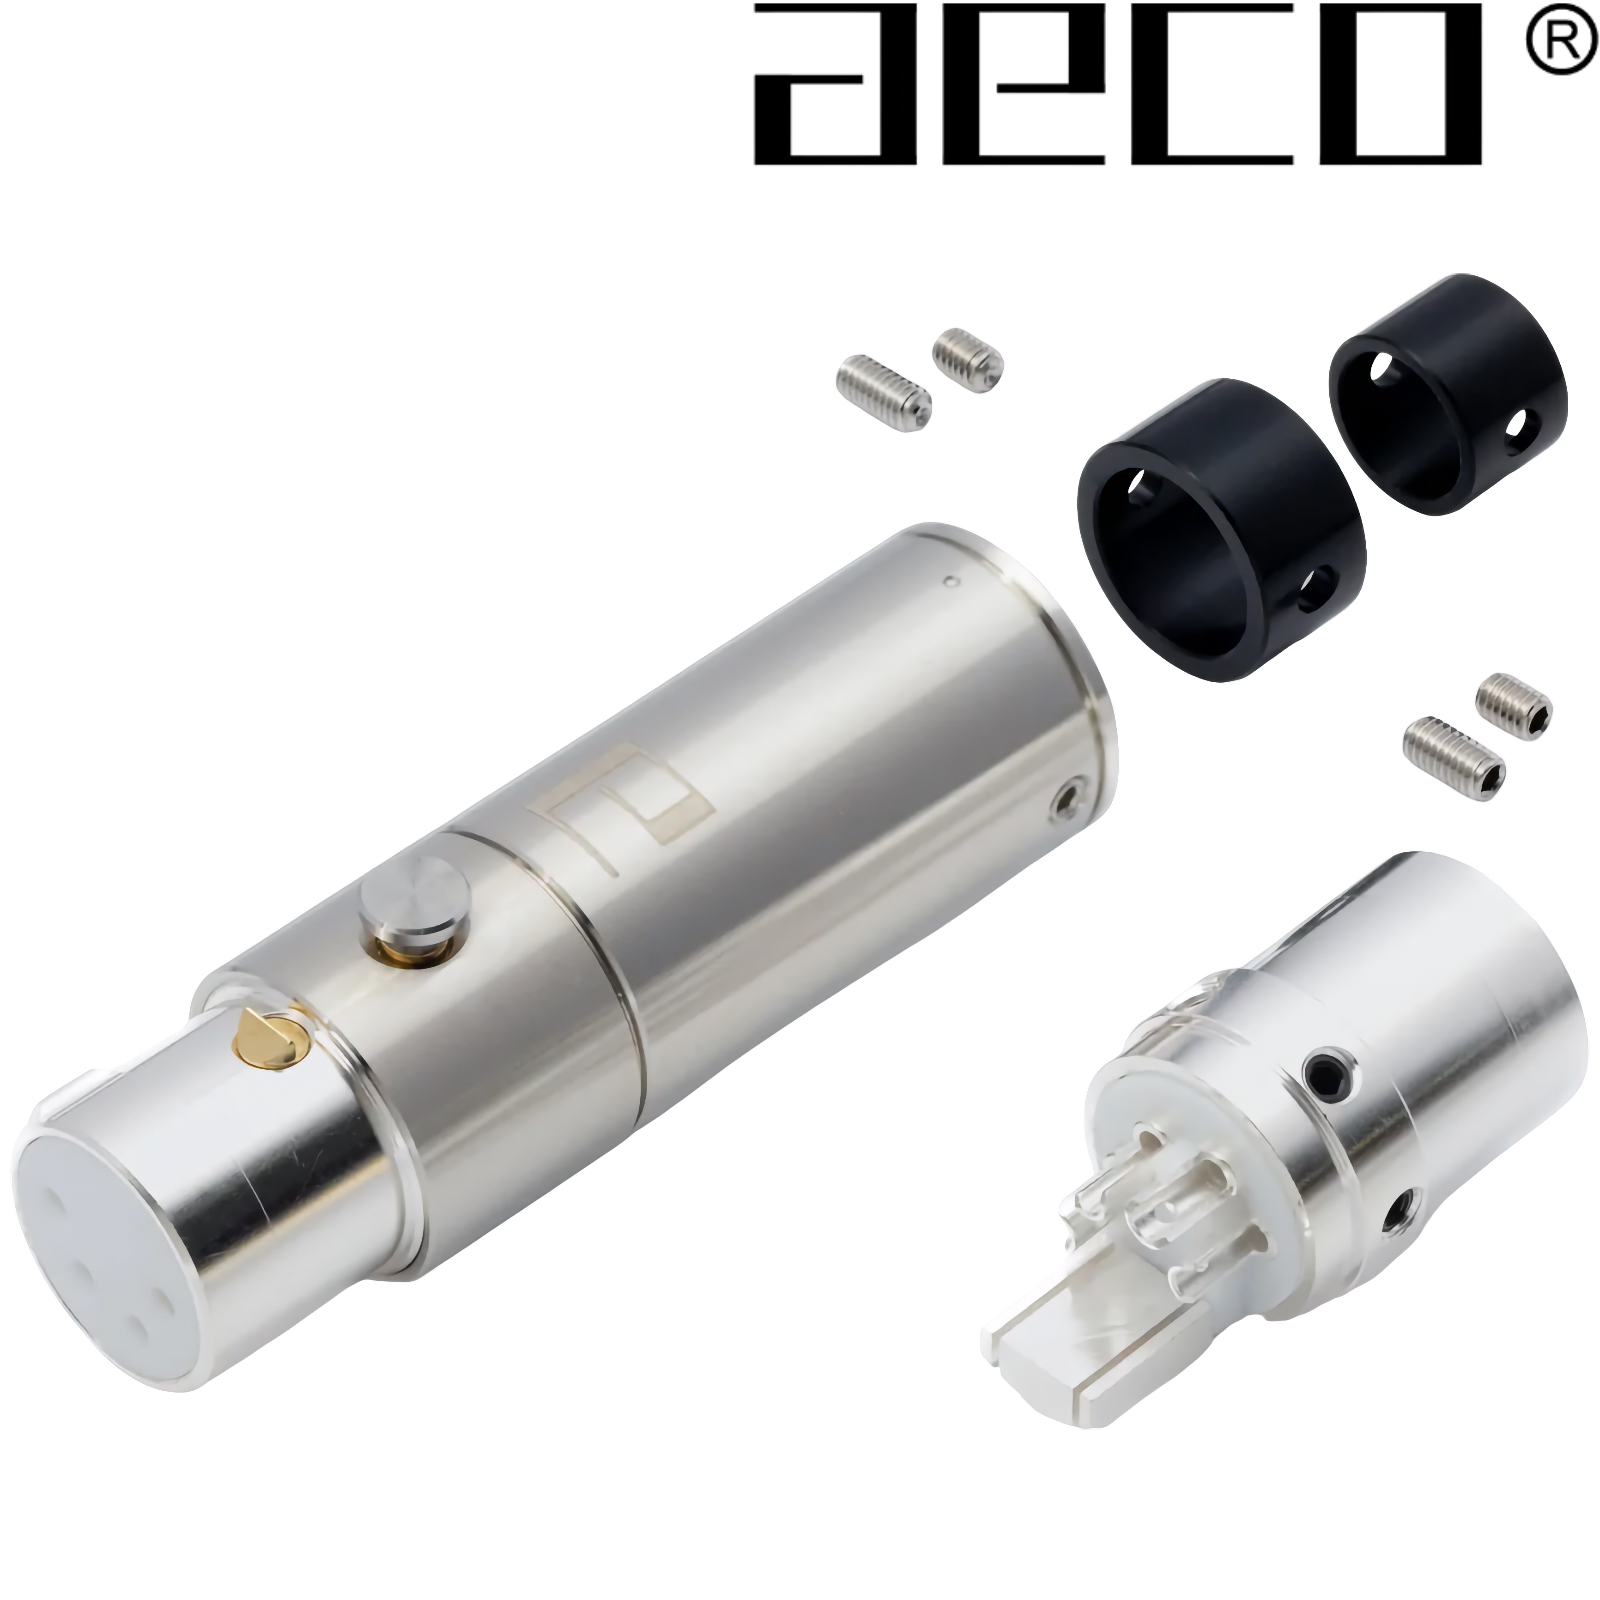
A high-purity, single-point contact female XLR connector with silver-plated contacts. It supports cable diameters of 9mm, 11.5mm, and 15mm.
The non-coaxial design allows true single-point conduction when the plug mates with the jack, reducing interference and improving signal integrity. The conductor is isolated from the body by precision-machined PTFE insulators and is made from high-purity tellurium copper with no nickel plating, ensuring excellent conductivity and tonal transparency.
The entire connector can be fully disassembled for easy maintenance, cleaning, or recycling.
Mechanical structure
The spring and lock are placed in the insulator, the lock partially protrudes from the body, and each contact pin is secured to the body with each POM screw through the insulator, forming the body unit.
The body unit is screwed to the front shell and the button screw are threaded through the side hole of the front shell to secure the lock.
The body unit and back shell are threaded together, and the sleeve is screwed to the end of the shell with a hole diameter of 9.0/11.5mm, and the hole diameter of the shell is 15.0mm after the sleeve is removed.
Assembly (numbers relate to the drawing below)
- Unthread the back shell [311] and front shell [211].
- Peel off the cable [51] and each insulation of conductor.
- Depending on the outer diameter of the cable, decide whether to use the sleeve (ID 9.0mm) [332], the sleeve (ID 11.5mm) [331], or only the back shell (ID 15.0mm).
- Slide the sleeve and back shell over the cable.
- Unscrew the body screw [231] on the front shell.
- Push the body unit [1] out of the front shell [211] by pressing the inner thread side of the lock [141].
- Slide the front shell over the cable
- Solder the conductor on each signal pin. [111][112][113][114].
- Solder the body grounding tab [131] as required.
- Place the body unit into the front shell with press and slide the lock to the second layer of the front inner [141] and try to press it properly.
- Use the body screw [231] to secure the front shell to the body unit. Tighten the screw until it is secure, but be careful not to overtighten as this may cause the screw to fall into the inner diameter of the front shell.
- Thread the back shell to the front shell.
- Secure the cables with screws [321] or [322] through the shell and sleeve.
- Secure the button screw [221] through the side holes of the front shell to the lock and try to press the button.
- [51]'s 5th channel conductor, as the schematic diagram, it may means full coverage braided.
Specification
Material:
- Contact Pin: Tellurium Copper(C14500 / copper contains over 99%)
- Insulator: PTFE
- Body: Brass alloy (C3604)
- Spring: Stainless steel (SUS304)
- Lock: Brass alloy (C3604)
- Pin Screw: POM
- Front Shell: Stainless steel (SUS304)
- Button Screw: Stainless steel (SUS304)
- Back Shell: Stainless steel (SUS304)
- Sleeve: POM
- Screw: Stainless steel (SUS304)
Finish:
- Contact Pin:
- Insulator: None
- Body:
- Spring: None
- Lock: None
- Pin Screw: None
- Front Shell: None
- Button Screw: None
- Back Shell: None
- Sleeve: None
- Screw: None
Electrical Characteristics:
- Contact resistance < 1.0 mOhm
Dimension:
- Biggest OD: 18.9mm
- Total Length: 62.8mm
- Recommend soldering temperature
Temperature Soldering Iron, please keep 340 °C within 3~5 second.
PRICE (1 off)
£50.00 +vat +p&p