Glasshouse Interconnect Cable No.2
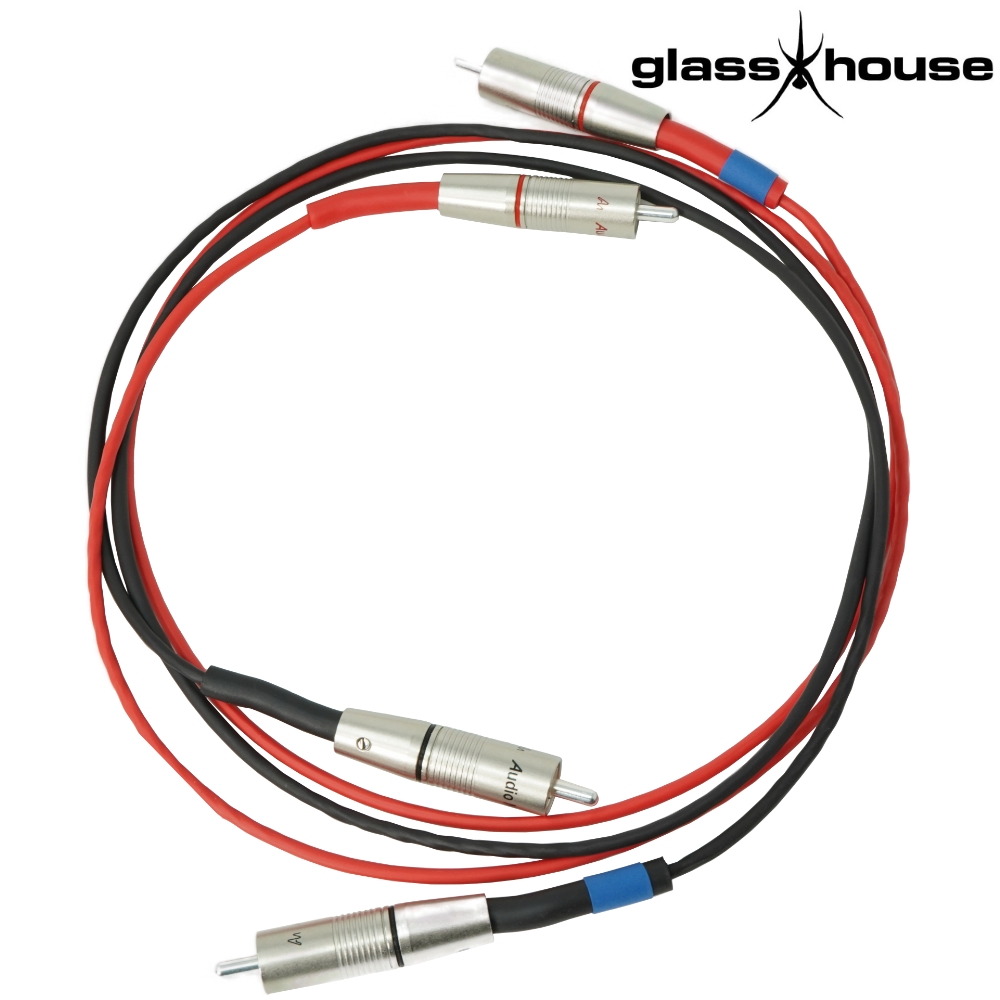
Following in the footsteps of the successful Glasshouse interconnect cable No. 1, we have created cable No. 2. It follows a similar formula in the makeup of the 1st, but using Mundorf's 99% silver / 1% gold 0.5mm single-core wire, sheathed in PTFE.
We use three strands of Mundorf's wire twisted together and wrapped in heat shrink, forming Litz wire. For the best performance, we use one wire for the signal and two for the earth. They are terminated with the superb Audio Note silver RCA plugs (CON-310, CON-311).
Being a kit, you are saving money as you are only purchasing the composite components, the mark up of these is a fraction of the mark up of a manufactured cable, plus you have the enjoyment of making a relatively simple kit (1 hours work).
Listening Test:
The cable needs about 100 hours to burn-in. The cable is incredibly musical over the full frequency range, the highs are extremely detailed, the mids are smooth, the bass is tight and controlled. Overall you will be amazed at the Glasshouse Interconnect Cable No. 2, so go on have a go, buy one today.
Instructions: Please refer to Pictures 2 & 3
- For the kit we will provide the correct length of 3 twisted strands of the Mundorf sheathed silver gold wire.
- Cut 92cm of the 3.2mm black heat shrink, thread the wire through. you should have 40mm of exposed wire at each end. Using a hot air gun, shrink the heat shrink. Note the heat-shrink. Cut a 5mm length of blue 4.8mm heat-shrink and fit 150mm from one end this will mark the cable for the end nearest the source. For example PRE-AMPLIFIER to CD, the blue end will be at the CD end.
- Cut 4 x 40mm of black 4.8mm heat-shrink. Build up 2 layers at each end. Allow each layer of heat-shrink to cool before putting on the next. Ensure that you still have 40mm of exposed wire showing at each end. Cut 4 x 40mm length of black 6.4mm heat-shrink and build up 2 layers at the end. The ends are now padded so that the RCA plug sleeve can be fitted securely. This is for the left channel cable. Use red for the right channel cable.
- Take one end and strip one of the wires exposing 8mm of wire. To strip the wire we have found the best method is to use a sharp Stanley knife blade to take off a little of the PTFE sleeving and peel it back.
- Bend the exposed wire in half and tin with the Mundorf 3.8% silver gold solder provided, this is the signal wire.
- Take the remaining 2 wires (earth) and cut back 15mm from the soldered tip of the signal. Expose 5mm of wire on both strands, twist together and tin with solder.
- Take one black RCA plug, familiarise yourself with how it is put together and separate all the parts. Thread the back sleeve portion onto the litz wire (correct way round).
- Tin the earth connection part internally, near the split, carefully use a vice of pliers to hold still while soldering. Solder the 2 joined earth wires to the earth connection part.
- Thread the signal wire through the earth connection part and into the signal post part and solder, wire in the opening.
- Fit all the RCA plug parts together and push the litz wire in slightly. Tightened the grub screw. You have now completed one termination.
- BEFORE you begin preparation of the other end you need to identify which of the three strands is the signal one. Using a multimeter set to DC resistance, hold one of the probes on the signal spigot of the finished RCA plug and with the other probe touch, in turn, the 3 strands until zero resistance is measured, this signifies the signal strand.
- Cut back the PTFE sleeving of this stand so as to expose 8mm of wire, bend the wire in half and tin with solder. You can now easily identify the signal portion.
- Take the remaining 2 unsoldered wires (earth) and cut back 15mm from the soldered tip of the signal strand.
- Expose 5mm of wire on both strands, twist together and tin with solder.
- Take the remaining black RCA plug, dismantle and thread the back sleeve portion onto the Litz wire (correct way round).
- Tin the earth connection part internally, near the split and solder the earth wires to this point.
- Thread the signal wire through the earth connection part and the signal post part and solder at the opening.
- Fit all the RCA plug parts together and push the Litz wire slightly up into the phono plug. Then tightened the grub screw, but not too tight so as to penetrate the wires, you have now completed both terminations.
- Repeat the same process to create the red signal wire.
Contents:
- 2m x Mundorf wire SGW305, 3x0.5mm 99%silver/1%gold twist
- 1.2m x HTSR3.2, Red heatshrink 2:1, 3.2mm diameter
- 1.2m x HTSB3.2, Black heatshrink 2:1, 3.2mm diameter
- 20cm x HTSB4.8, Black heatshrink 2:1, 4.8mm diameter
- 20cm x HTSB6.4, Black heatshrink 2:1, 6.4mm diameter
- 20cm x HTSB4.8, Red heatshrink 2:1, 4.8mm diameter
- 20cm x HTSR6.4, Red heatshrink 2:1, 6.4mm diameter
- 5cm x HTSBL4.8, Blue heatshrink 2:1, 4.8mm diameter
- 2 x Audio Note CON-310AG-7 RCA plug (red)
- 2 x Audio Note CON-311AG-7 RCA plug, (black)
- 0.5m x Mundorf 3.8% silver/gold solder
PRICE (from)
£221.54 +vat +p&p